Maybe i should preface this by saying i am not japanese and didn't grow up in a home eating a lot of authentic ramen. This is my atempt to compile what i understand in a way that will make it easier for people like me to make authentic style ramen a little more convient as a go to food. I am hoping in the future to not really need a recipe, but rather just know how to make ramen. This post is helping me compile what i know to help me get closer to that goal.
So lately i have been on a Japanese food kick. I have been watching Anime for a while, but i recently started really craving the food i see on the shows, Ramen and Curry in particular. It looks so good! I started googling recipes, to decide the perfect way for me to make ramen. I am being kind of bland with the toppings b/c i just want to make it with things i have on hand, and i don't keep bamboo shoots on hand... I was also unsure at first how i should make the broth. The Miso Ramen recipes all call for miso, a fermented bean paste, which i don't have, and the others all seemed to be make the broth by sauteeing the toppings then adding liquid. The one thing i know from anime is you add the noodles, pour on the broth, and then add all of the toppings, not cook the toppings into the broth. Well, that and you eat it with chopsticks/soup spoon ( one in each hand if you can manage it!). The more professional recipes require hours of boiling pork bones down to make a stock solution as the base of the broth. Once the stock is made, adding miso is still an option. My goal was to come up with a ramen recipe that didn't require a outlandish ingredients i haven't heard of, but that was still like ramen I have seen in anime. I have done a lot of reading on ramen recipes in order to accomplish that goal.
The basis for this broth is beef broth. A mix of soy sauce, and other seasonings complete the broth, and can be done to taste. Chili and sesame oils are common additions but that isn't something that i keep on hand, so chili powder, garlic powder and onion powder are my choice of seasonings. I also currently have Hon dashi granules on hand (gotten as a white elephant gift this past Christmas), so i will be added some as well until i run out. My brother loves sriracha hot sauce, which is something he could add to make his ramen more spicy.
Maybe if i want to make a more invested version of ramen i will make my own noodles, but for now the noodles i will be using are store bought. My aim right now is a simple, delicious meal.
For toppings all the websites say use what you have on hand. I will put a somewhat comprehensive list of common toppings, including what i commonly have on hand for this recipe.
Boiled Eggs
Green Onions
Slices of Meat (Barbequed, roasted or grilled then sliced pork, chicken or beef. Pork is the most common, but i keep chicken on hand the most. for more info google chashu)
ginger (pickled or fresh)
sliced bamboo shoots
bean sprouts
dried seaweed
fish cakes
corn
spinach
carrot slices
tofu
cabbage
peas
mushroom slices
Theses are all ideas, and feel free to try any other toppings to see if you like it. There is a lot of room for individual taste when making ramen.
Sources:
http://www.steamykitchen.com/15145-miso-ramen-recipe.html
http://norecipes.com/blog/tonkotsu-ramen-recipe/
http://shizuokagourmet.com/2009/11/23/ramen-tonkotsu-ramen-professional-recipe/
http://www.food.com/recipe/miso-ramen-soup-292646
Wednesday, May 22, 2013
Thursday, October 11, 2012
Crochet Satchel/Over the Shoulder Bag
http://www.bernat.com/pattern.php?PID=2234
Here are some pictures of the final product:

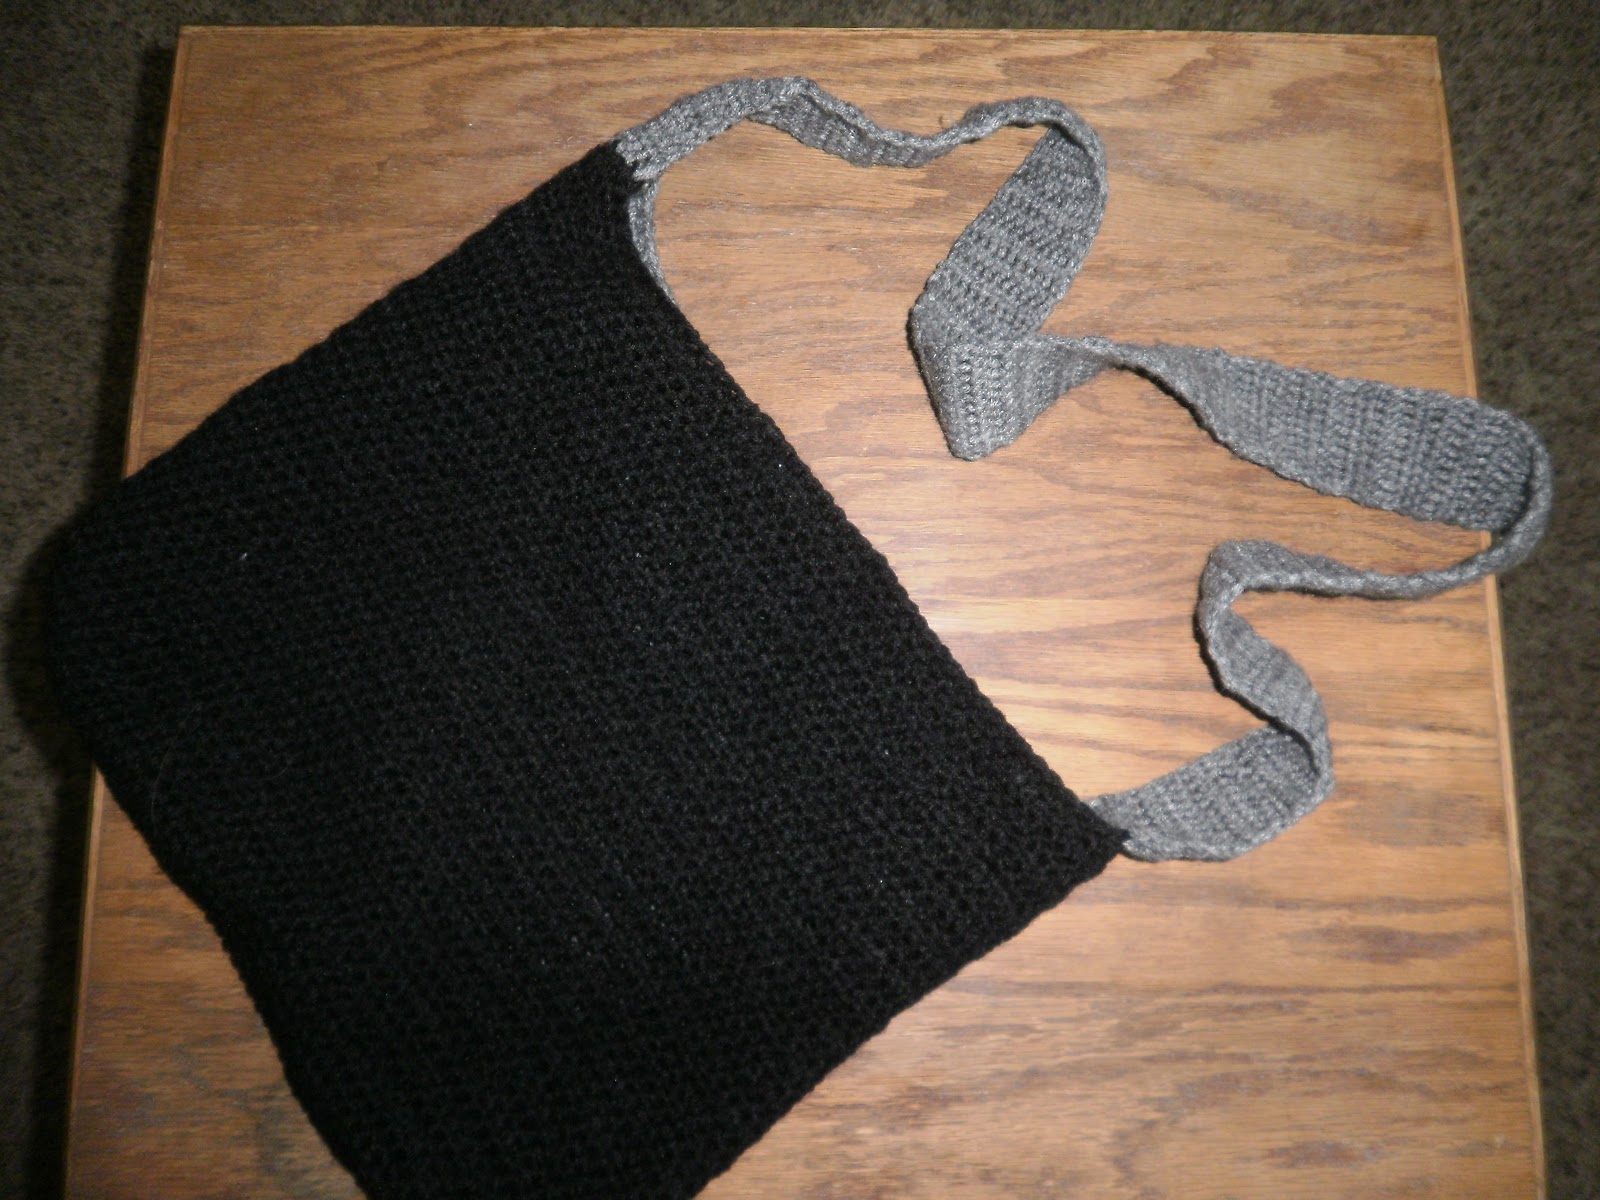
One panel is grey like the strap and the other is black as an accent color. I really like how it turned out. I thought about putting a flap that was also black that would attach to the black panel and rest over the grey panel, going about two thirds of the way down it. I decided not to, but think that it is a fine alteration, depending on what the bag is wanted for. You can also easily edit the height or width of the panels, as well as the strap length.
Hook size H or I,
Panel (make two):
1. Ch. 40. Turn.
2. hdc twice in second ch from hook, continue to hdc once in each ch until you reach the last ch in the row. hdc twice in the last ch in the row. Ch 2. Turn.
3. Repeat expansion rows like step 2 for 5 more rows, or until have soft corner for the size of bag you are making
4. Continue in hdc (no expansion) until you reach 12 in, or the desired height. Tie off.
Connect panels:
Slip stitch panels together. Start with right sides together, working from the top of one side, and continuing down and around until you reach the top of the other side. Tie off.
*On the bottom slip stitch bottom st together. On the sides, do one slip stitch per row.
Strap:
Tie yarn to spot 6 st. away from the edge of the panel, including the st. used in slip st. sc in 5 st until seam, and 5 st after seam, making the strap 10 st. wide. ch. 2. Turn
hdc across the 10 st, ch 2, turn.
repeat until strap is desired length*- around 105 hdc rows.
*strap will stretch making it longer and skinnier. Make sure you take this into account when deciding a length.
Slip stitch end of strap to the 10 stitches centered on the other seam.
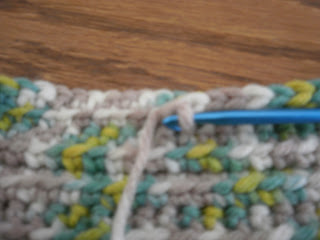
Crochet Dishcloth/Hotpad
I wanted to crochet some hot pads and maybe dishcloths, and i found this pattern i had picked up at joanns. It looked like it would be good for the dishcloths. I used it and it came out bigger then anticipated, so i might scale it down a little. More specifically the width was to wide. I would use less stitches across. Anyways, here is the pattern:
http://www.joann.com/static/project/0706/P148439.pdf
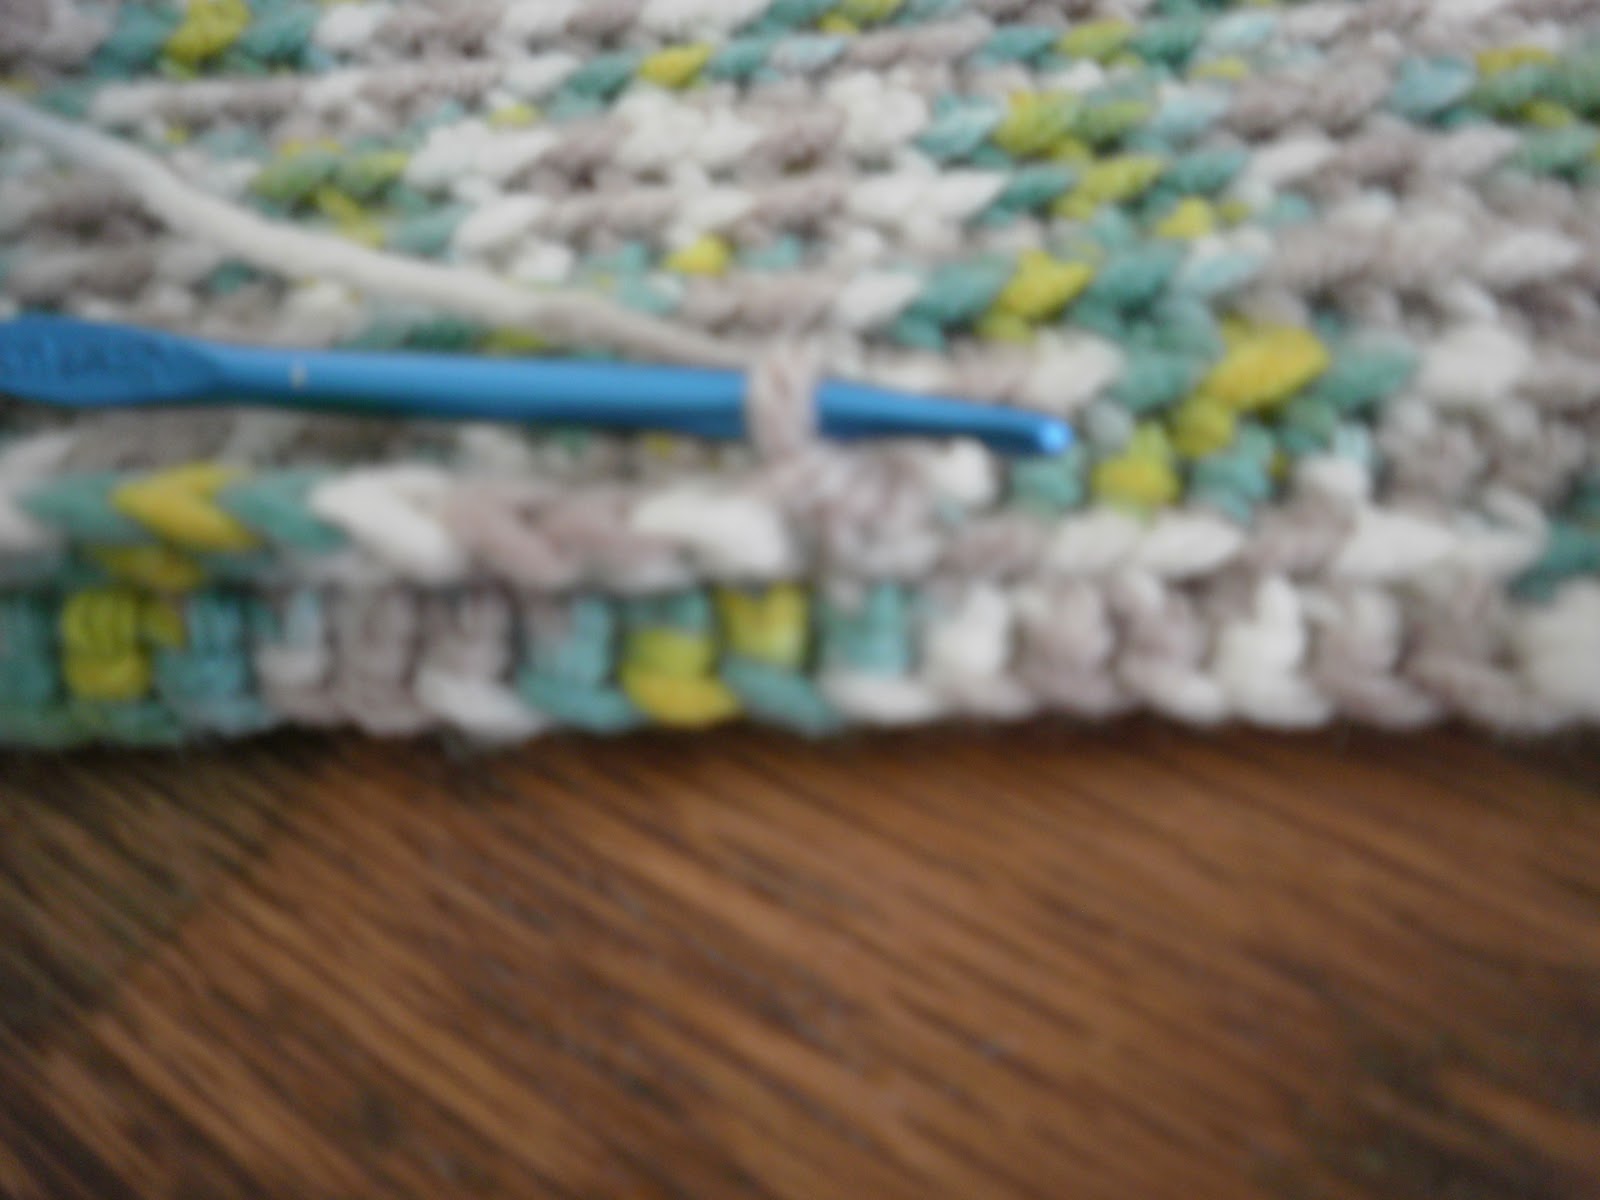
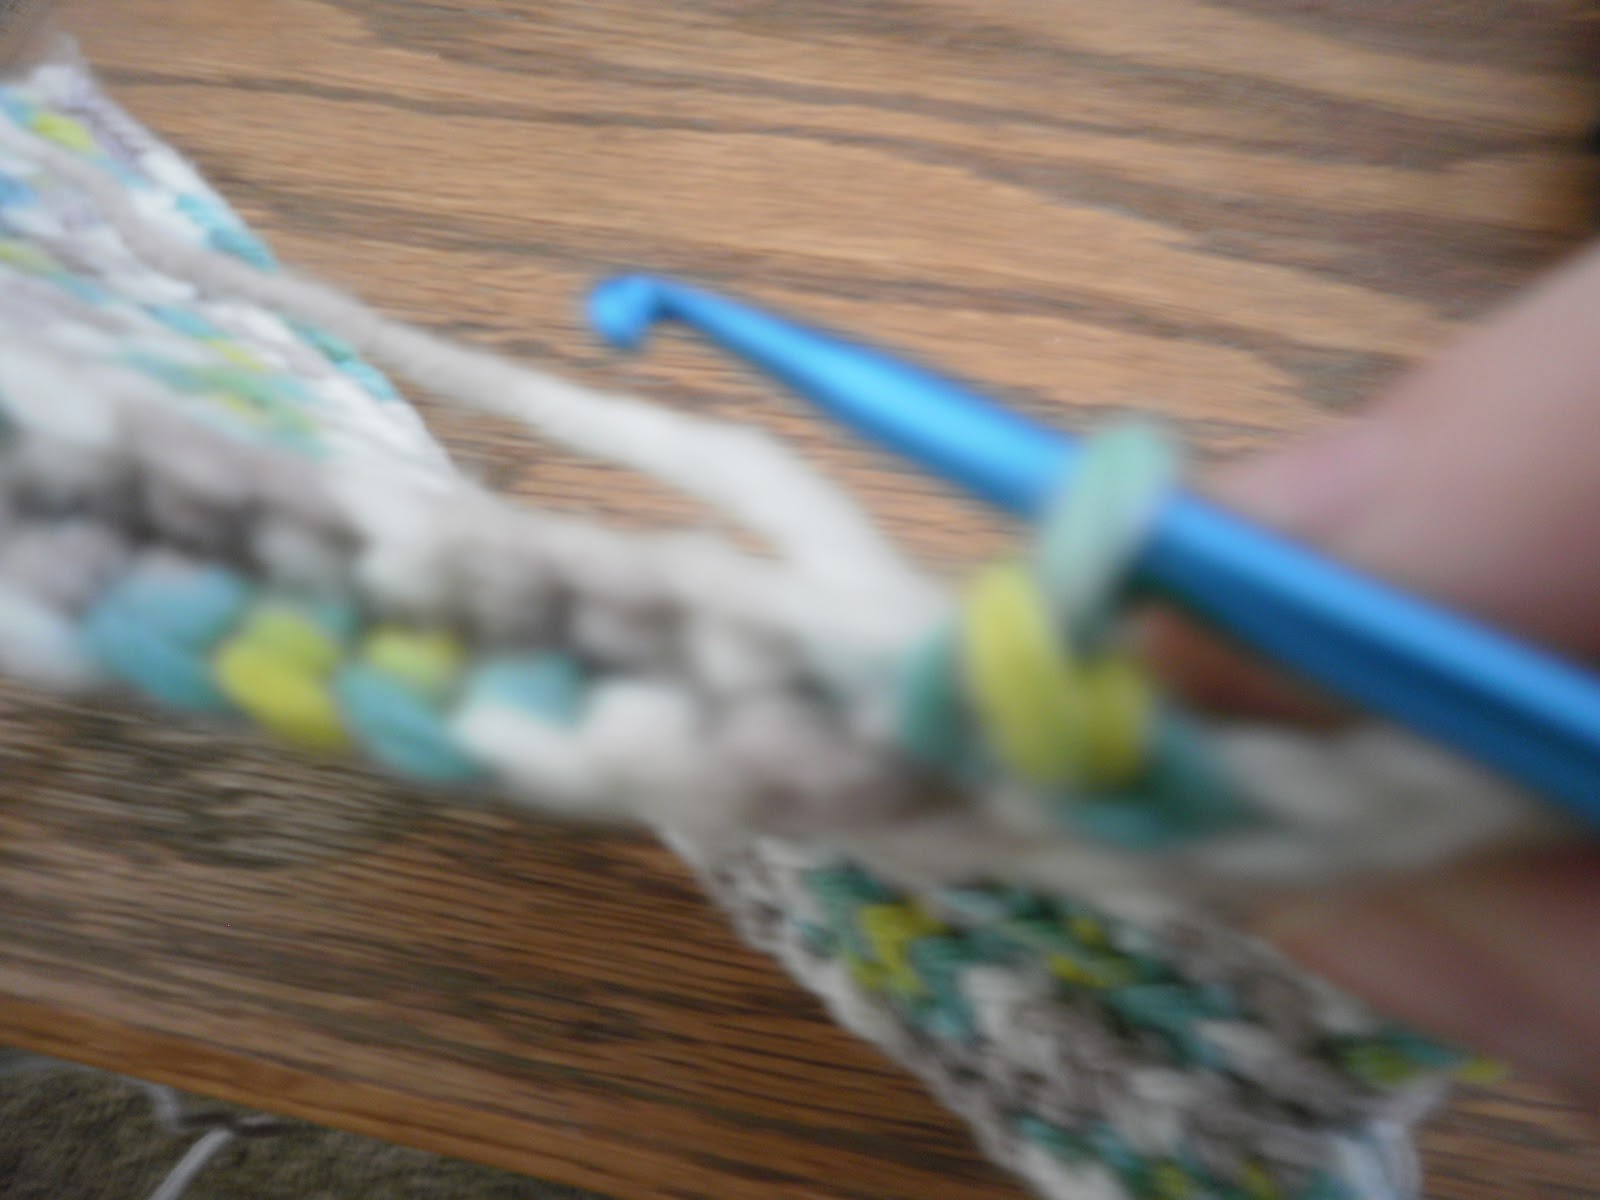
So onto the hotpad. I am using a size G (4.25mm) hook. i want it to be pretty tightly woven, because i've had crocheted hotpads where the stitching slipped and my finger ended up getting burnt. I also wanted the hotpad to be thick enough that it could adequatly insulate my hand. I have used other hot pads that were fine until thirty seconds after i picked up the hot item, and then all of the heat passed straight through them. So in summary This is a dense, thick hotpad.
1. ch. st to desired width of hot pad. (I used 30, some people like their hot pads to be bigger).
2. sc. in second ch. from hook. continue to sc across rest of row.
3. Ch 1 and turn. sc across row, being careful to only pick up the front portion of the loop. Once you reach end of row, turn and continue to sc on the same row, picking up the back, unused portion of each loop (now in front). Continue to end of row.

4. ch 1, and sc picking up the middle portions of the loops (back portion of the front loop and front portion of the back loop). cont. til end of row.


5. Repeat steps 3 and 4, until you reach the desired height for hot pad. end on a odd row (like step four).

http://www.joann.com/static/project/0706/P148439.pdf
So onto the hotpad. I am using a size G (4.25mm) hook. i want it to be pretty tightly woven, because i've had crocheted hotpads where the stitching slipped and my finger ended up getting burnt. I also wanted the hotpad to be thick enough that it could adequatly insulate my hand. I have used other hot pads that were fine until thirty seconds after i picked up the hot item, and then all of the heat passed straight through them. So in summary This is a dense, thick hotpad.
1. ch. st to desired width of hot pad. (I used 30, some people like their hot pads to be bigger).
2. sc. in second ch. from hook. continue to sc across rest of row.
3. Ch 1 and turn. sc across row, being careful to only pick up the front portion of the loop. Once you reach end of row, turn and continue to sc on the same row, picking up the back, unused portion of each loop (now in front). Continue to end of row.

4. ch 1, and sc picking up the middle portions of the loops (back portion of the front loop and front portion of the back loop). cont. til end of row.

5. Repeat steps 3 and 4, until you reach the desired height for hot pad. end on a odd row (like step four).

Wednesday, October 10, 2012
Breakfast Trifle with Grits Base
A few years back i was watching Food Network with my dad. He is from South Carolina. The show Down Home with the Neelys came on. They were making a Sunday breakfast. It looked soooo good. The main dish was a breakfast trifle with grits as the base. I don't know if you have ever tried grits, most people not from the south haven't, but they are delicious. Grits are made from coarsely ground corn. Grits come in two varieties, white and yellow. We usually use white grits for breakfast. I have some friends that assumed grits should be sweetened when eaten for breakfast like oatmeal or cream of wheat, which isn't accurate. Grits are usually eaten salty. A well loved breakfast at my house is eggs, bacon, sausage, and grits. We even cook the eggs in the bacon fat. It is super delicious, but fattening (all the bacon fat), so we don't make it very often.
The recipe for breakfast trifle the Neely's used can be found here:
http://www.foodnetwork.com/recipes/neelys/breakfast-trifle-grits-recipe/index.html
After watching the show i decided to make breakfast trifle too. I loosely based it on their recipe. Some variations i made were to use scrambled eggs (i was cooking for a lot more people then two), add bacon and sausage, and no tomato. I think we used other vegetables like bell peppers. It was really delicious. Obviously this recipe has a lot of room for personal taste. It makes a filling breakfast that includes protein, dairy, vegetables, and grains. I am getting really hungry just thinking about the trifle. I think i will make some.
Sunday, August 26, 2012
Fruit Dip
This is my favorite fruit dip. I have tried others, but this is by far the best.
8 oz. Cream Cheese
1 c. Brown Sugar
1 tsp Vanilla
Soften Cream Cheese. Beat ingredients together. Refrigerate. Serve with fruit cut into bite size pieces.
8 oz. Cream Cheese
1 c. Brown Sugar
1 tsp Vanilla
Soften Cream Cheese. Beat ingredients together. Refrigerate. Serve with fruit cut into bite size pieces.
Monday, August 13, 2012
Reusable Grocery Bags
So lately i have been making reusable grocery bags from plastic grocery
bags. Basically i cut off the handles and the bottom that is holding it
together, and then cut it into strips that i then tie together and
crochet. it is pretty awesome. I also have been finding what other
plastics i can use for this. I have used clothing store bags, cereal
bags, ziploc bags, and just pretty much whatever flexible plastic i
find. the more rigid of the plastics i will often use as the base for
the bag so that it is reenforced.
Here is a thicker base:

Here is a top view of a partially finished bag that has a normal base:

And a side view:

Once the bag was completed:

The bag standing up:

Top View:

*Note the bag could have fit a lot more, i just put enough to fill it out for the picture...
So anyways... I make the bag by crocheting back and forth, like making a scarf, until the base reaches the dimensions desired, and then i start crocheting around the edges of the base. When initially crocheting the sides of the base i do about 1.5 stitches per every row. I also do a couple of increasing stitches around the corners for the first few rows. You just keep circling until the bag is the desired height, and then it is time of the handles. I determine where i would like them to attach, and then when i reach the inside point of attachment for one i ch 1 and turn. I crochet back the desired width of the handle, and then ch and turn again. I keep going across that strip until the handle is the desired length, and then i slip stitch the handle onto the bag, ending on the outside of the handle, and continue around the bag until i get to the next handle and make it the same way as the first. With the second one i will still continue around until i reach the first handle before i tie it off so that section of the bag does not appear shorter.
These bags are a pretty cool way to upcycle, and to get reusable grocery bags without buying them. You can feel good about yourself stopping the bags from sitting in a dump somewhere. What size hook you use depends on the rigidity of the plasitic and how thick you make the strips,
Cheese Ball
So a couple of years ago I decided to try my hand a making a cheese ball, so i looked up a bunch of different recipes looking for inspiration for ingredients, and then wrote my own recipe using the ingredients that i liked form the various other recipes. It turned out really well. I recently looked it up again so that i can make one for my sister's bridal shower. Anyways here is the recipe.
2 8oz. packages of cream cheese, softened
1.5 tsp minced garlic
2 tsp grated onion
2.5 c shredded cheddar cheese
.25 c chopped parsley
1 lb bacon, cooked and crumbled
1 Tbsp minced thyme
In a bowl combine all ingredients. Mix well. Cover and refrigerate until serving. Shape into a ball and serve with crackers.
It was a huge hit when i made it, and it was the best cheese ball i had ever had, which makes sense since i wrote the recipe based on what i liked from other cheese balls.
Subscribe to:
Comments (Atom)